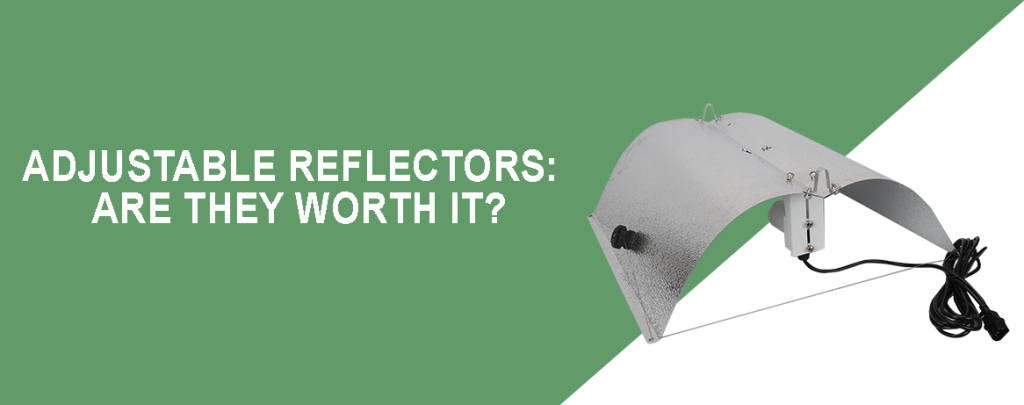
Set Up Guide – FlexWing Reflectors
The FlexWing reflectors have been incredibly popular for many years. They can be easily adjusted to suit every stage of plant growth according to the size of your grow room.
Here’s a simple set up guide for assembling your newly purchased FlexWing reflector.
- Start by slotting the wings together and screwing in the reinforcement brackets at each end. These are also the hanging points for your reflector.
- Do not draw the wings together until the brackets have been securely fitted.
- The wire at each end of the reflector will adjust the reflector downwards and the width between each side of the reflector can be adjusted to change the shape.
- The cable which features two small blocks about 2cm apart should be placed into the keyhole. This should attach securely with no problems.
- Then feed the other end of this cable through the slot on the other side of the reflector wing.
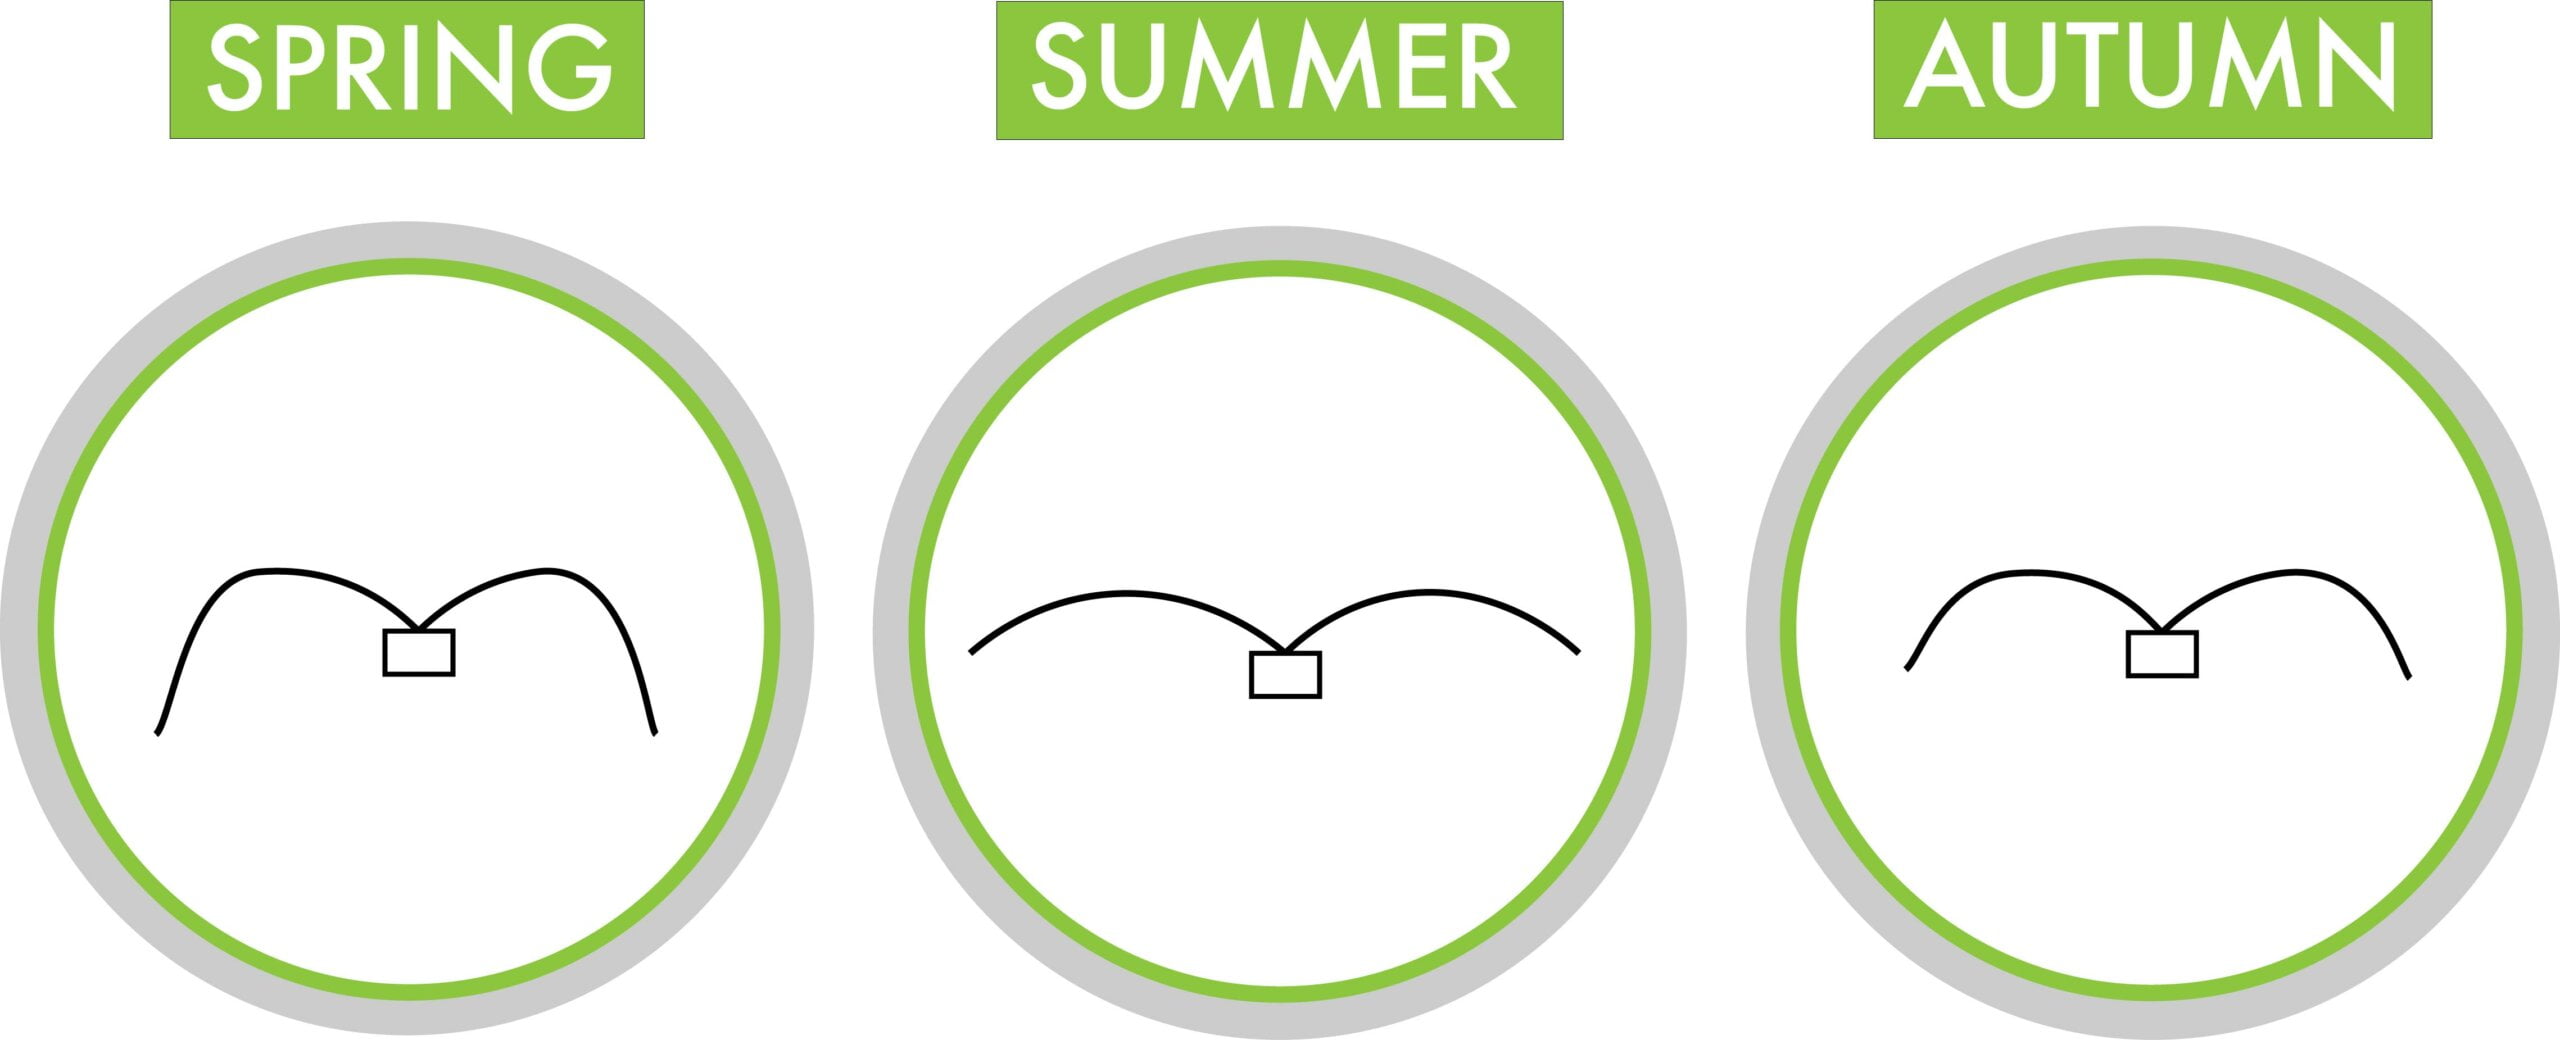
- After that, feed it again through one of the other 3 slots. This gives you a choice of 3 individual wing shapes – narrow, medium and wide. Then repeat this whole process for the wing on the other side.
- Next, using the thumb-wheel bolts, screw the lamp holder into one end. This will hold your lamp in place and can be easily adjusted using the screws.
- Finally set the height of your reflector and watch how your plants thrive!
The FlexWing gives growers far more options which is incredibly useful when you are struggling for space in your grow room. They are best used in 1m x 1.5m sized rooms, placed around 200cm higher than your plant canopy. You’ll notice fantastic results almost immediately!