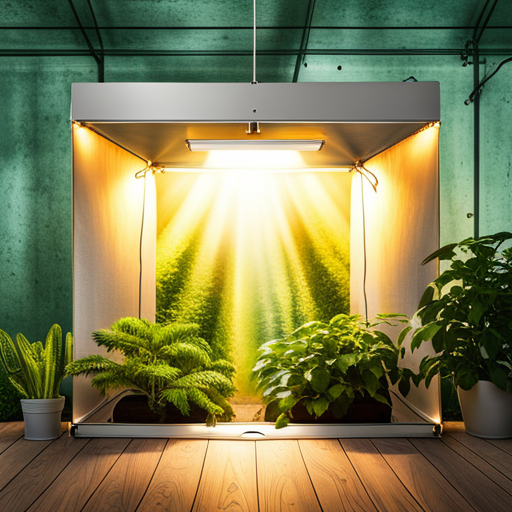
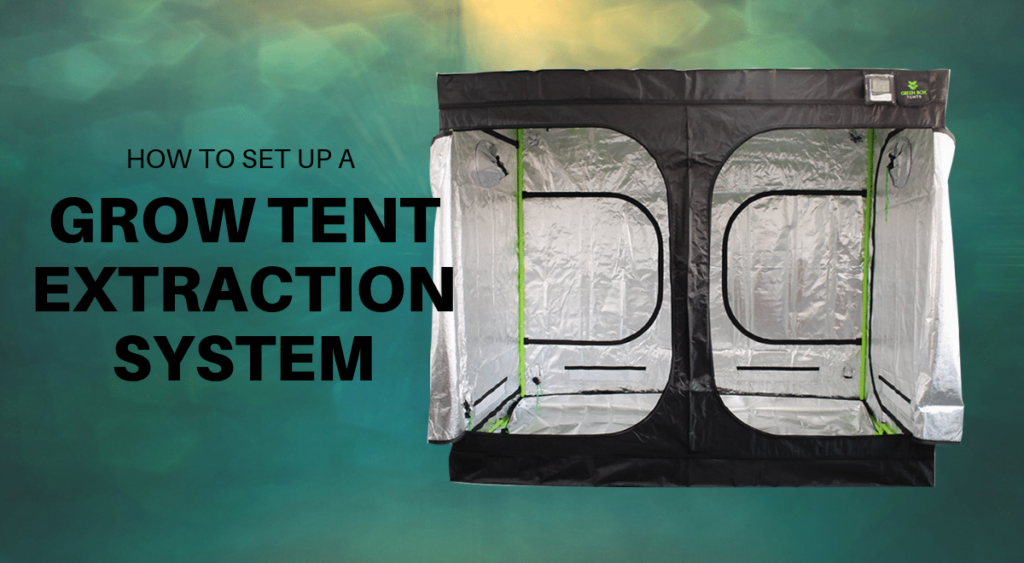
Setting Up Your Grow Tent
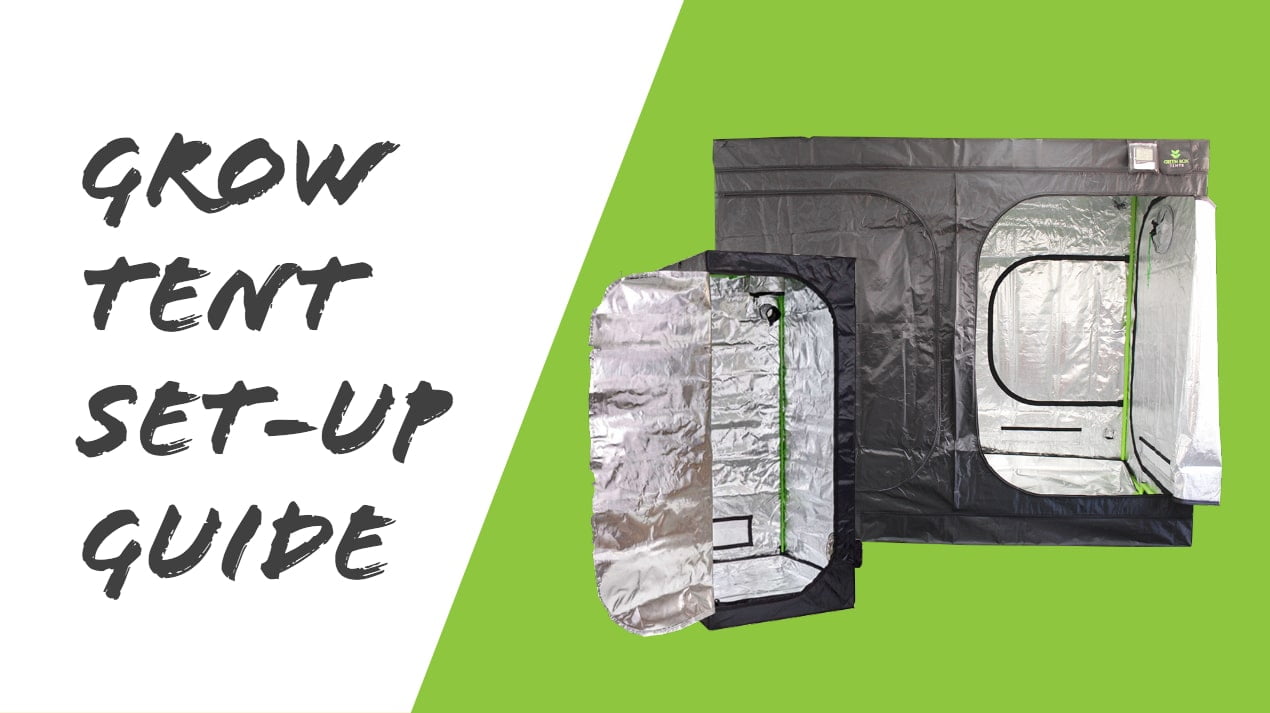
So, you’ve purchased your grow room equipment, now it’s time to set-up your grow tent. We’ve put together a simple guide to help you set-up your new grow tent.
To save time, once you receive your Grow Tent you should move the box into the room you wish to set the tent up in.
Step 1: Construct the metal tent frame by assembling metal poles, corners and connectors as per diagram for each model. This will give you easy access to the parts you need and will make the whole experience easier. To avoid damage, it is important that you check all poles are pushed completely into each corner/connector joint. Failing to do this will make the tent difficult to cover. It may also stretch the seams, allowing for light emission from the tent.
Step 2: Unzip the zipper system all the way, leaving the zippered size windows closed.
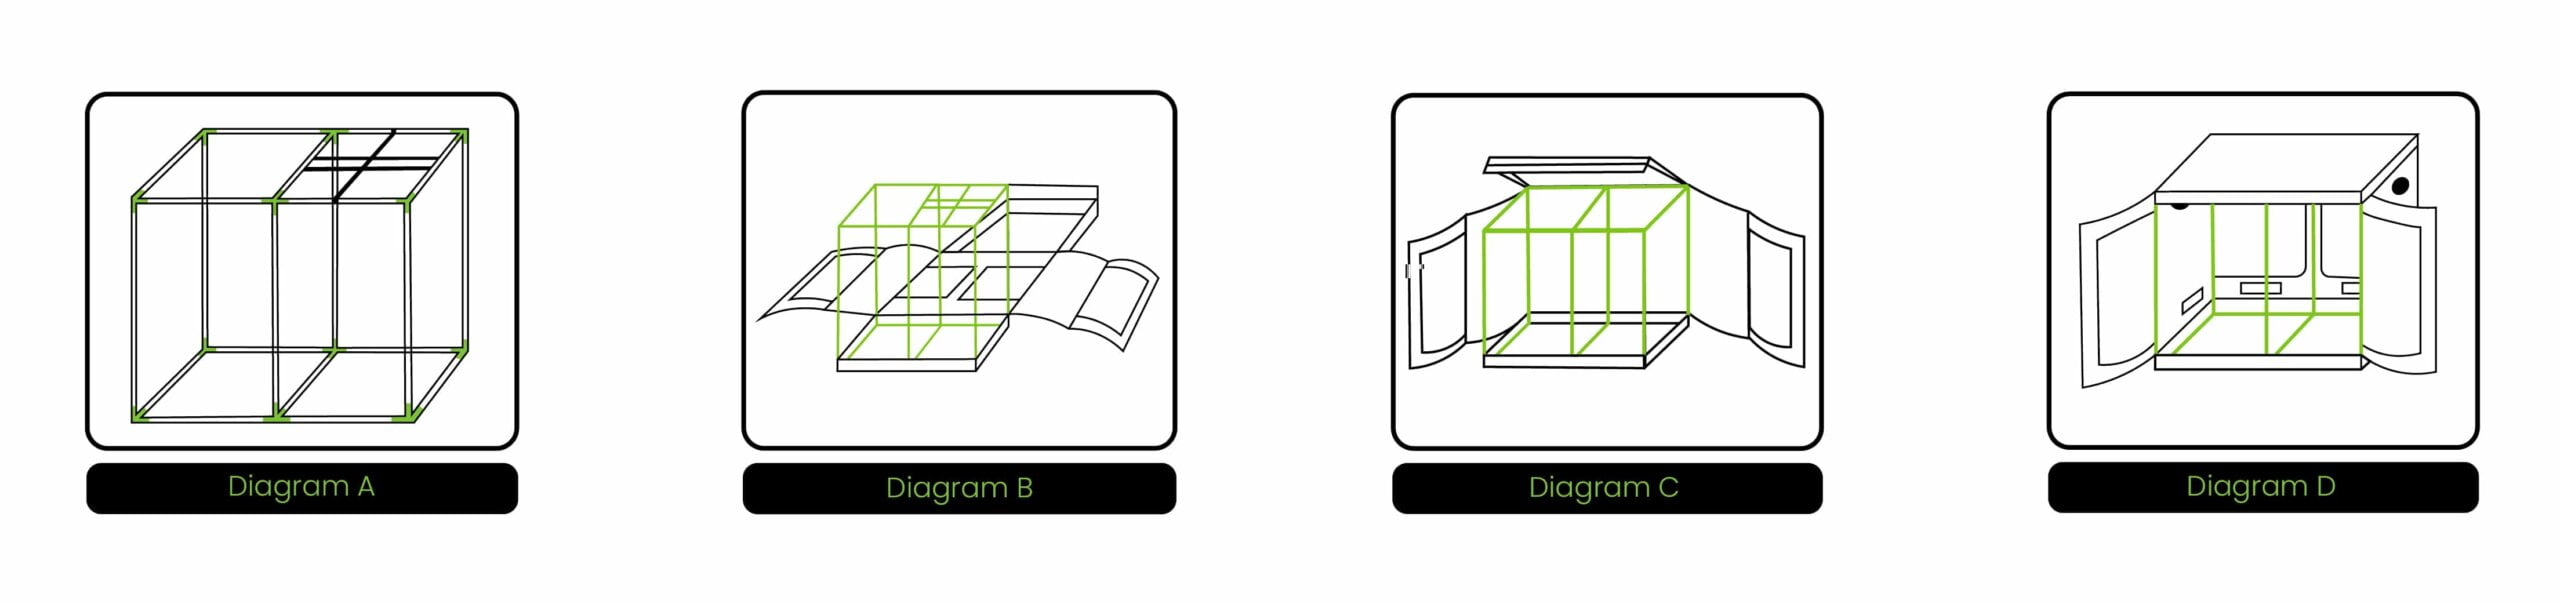
Step 3: Locate the tent’s roof and place neatly & carefully over all 4 corners of the top of the frame ensuring a snug fit. Refer to Diagram A. Plus, to avoid any damage it is important that you hang shallow and deep bars before doing the next step.
Step 4: Slip base section of tent cover beneath assembled ‘A’ poles, and ensure it fits in neat and precisely around the tent frame corners and sides. Refer to Diagram B.
Step 5: Close up the zipper system carefully. For the large horizontal zipper near the base, you may have to push the upright poles in as you zip around each corner. Refer to Diagram C.
Step 6: Attach water-proof tray & pouch in place and hang nylon fabric straps. Refer to Diagram D.
Setting Up Fan, Filters & Other Grow Room Equipment
It’s important to remember that the grow tent itself is only the exterior structure to your grow room. To get the best growth results one of the pieces of equipment you’ll need to install is a reliable indoor extraction system. Therefore, you’ll need a fan, filter, ducting and ducting clips.
Setting up a fan is the easiest way to increase the ventilation in your grow room. There are plenty of different sizes available. Extraction Fans will usually range from 4-12 inches in diameter. You’re best off starting with at least a 6-inch fan. Likewise, you’ll want to have at least two medium-sized fans, one placed around the top of your tent and the other placed at the bottom.
Exhaust fans help to regulate the humidity within your grow room. Your extraction fan size all depends on the size of your grow room. Hot air always rises, therefore you should place your exhaust fan around the top section of your tent.
Intake Fans basically bring cool air inwards from the outside of your tent. Therefore you’ll want to place the intake fan where cool breezes are likely to form, from the outside fo your tent.
To fully set up your indoor extraction system, follow these steps:
- Place your extractor fan either on the outside or inside of your grow tent
- Connect the ducting to your carbon filter and make sure it’s secured with ducting clips
- Hang your carbon filter from the roof bars of the grow tent with rope ratchets
- Run the ducting out of one of the ventilation holes in your grow tent
- Connect the ducting to the extractor fan using the ducting clips
If you have any questions about your grow tent set-up, get in touch with the Gardeners Corner team.